
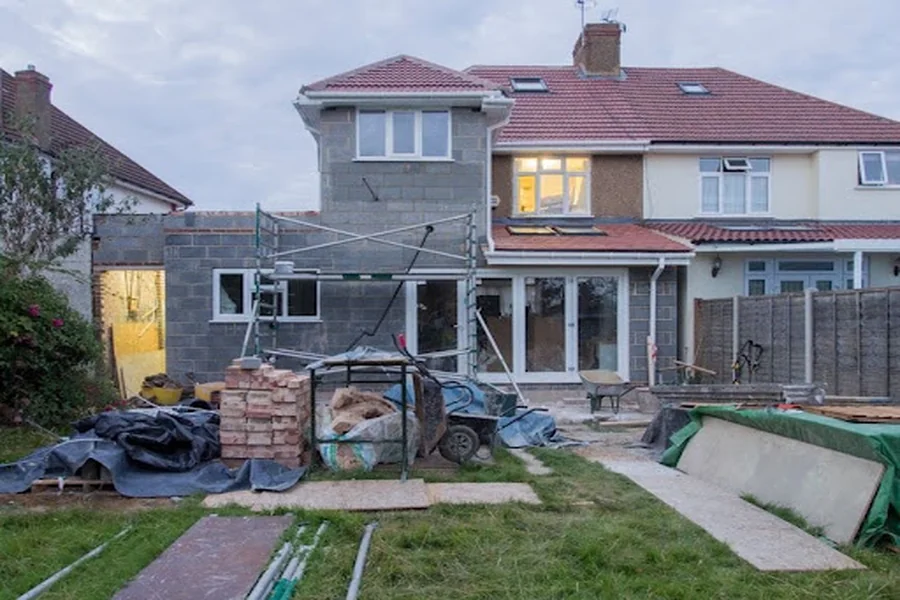
An exterior renovation can make a home look refreshed, but its most important results are not always visible from the street. Siding, roofing edges, windows, trim, gutters, and drainage work together to protect the structure from weather and moisture.
A successful project starts with a wider assessment. Instead of choosing materials based only on appearance, consider how the whole exterior performs, what maintenance you can realistically manage, and which details deserve attention before work begins.
Begin with the condition of the building, not the color palette
It is natural to start with the visual changes you want. New siding, updated trim, or a different roofline can transform a property. However, cosmetic decisions should follow an inspection of the components that keep water and outside air from entering the structure.
Look for loose or warped siding, peeling paint, soft wood, damaged caulking, blocked gutters, and signs of water collecting near the foundation. A surface can appear sound while damage develops behind it, so investigate warning signs rather than simply covering them.
Think of the exterior as a connected building envelope. Roofing, flashing, cladding, windows, doors, and drainage all contribute to its performance. Addressing a leak at its source is usually more effective than replacing the material that happens to show the damage.
Make installation quality part of the decision
Materials cannot compensate for careless workmanship. Poorly aligned panels, incorrect fasteners, incomplete sealing, and badly integrated flashing can allow water behind the exterior finish. That is why comparing contractors requires more than looking at product brands and bottom-line prices.
An experienced exterior home improvement contractor should be able to explain how the different parts of the project fit together. Ask how the team will handle house wrap, flashing, trim, moisture barriers, ventilation, and any damaged substrate uncovered during removal. The estimate should describe the work clearly enough that you can compare proposals on an equivalent basis. Before work begins, walk the property with the estimator and identify existing damage, areas that are difficult to access, and features that must remain undisturbed. Ask how the crew will protect landscaping, outdoor equipment, and entryways, and how debris will be contained and removed. These practical arrangements affect the experience of the project as much as the finished appearance.
Ask who is responsible for coordinating trades if roofing, siding, windows, and gutters are included. Clear responsibility reduces the chance that one installer blames another when a detail fails.
Choose materials for real conditions and realistic upkeep
Exterior products differ in their resistance to moisture, sunlight, temperature changes, and impact. Fiber cement, vinyl, engineered wood, composite trim, and roofing materials each have advantages and limitations. The right choice depends on the building, installation details, exposure, and the amount of maintenance you are prepared to do.
Compare more than the initial purchase price. Ask about expected service life, repainting or cleaning requirements, repairability, warranty exclusions, and compatibility with existing components. A lower-cost product may require more frequent maintenance, while a premium option may not deliver its expected performance if installed incorrectly.
New cladding should work with the existing weather-resistant barrier, insulation, and window details. If an upgrade changes one layer without accounting for the others, it may create moisture or ventilation problems rather than solve them.
Pay special attention to transitions and water pathways
Many exterior problems begin where two building components meet. Roof-to-wall intersections, window and door openings, fascia, corners, and gutter outlets all need carefully planned water management. These areas may occupy little visual space, yet mistakes can allow moisture to reach sheathing, framing, and insulation.
Flashing should direct water outward and downward, with layers arranged so water cannot run behind the protective barrier. The U.S. Department of Energy’s Building America Solution Center explains how step and kick-out flashing protect roof-wall intersections. The guide illustrates why these details should be included in the scope rather than treated as minor finishing work.
During planning, ask how flashing around windows will connect to the wall’s water-resistive barrier, how roof runoff will enter gutters, and where downspouts will discharge. If old materials are removed, confirm that damaged sheathing or framing will be assessed and repaired before new finishes cover it.
Prepare for what demolition may uncover
A budget based only on visible materials can become unreliable once work begins. Removing old siding or trim may reveal rot, insect damage, deteriorated sheathing, failed flashing, or earlier repairs that were not properly completed. These conditions are difficult to price precisely before the structure is exposed.
Build a reasonable contingency into the budget and ask how unexpected work will be approved. A written change order should identify the problem, the proposed repair, the added cost, and any schedule effect. Agree on who can authorize additional work before the project starts. Confirm how weather delays will be communicated to you.
If the budget tightens, protecting the structure and correcting water-management failures should generally take priority over decorative upgrades that can wait.
Consider comfort, maintenance, and long-term performance
The value of exterior work is not limited to resale. Proper air sealing, insulation, ventilation, and drainage can contribute to a more comfortable home and reduce avoidable maintenance. Effective gutters and downspouts help move roof water away from walls and foundations, while sound flashing limits the risk of concealed moisture damage.
The Environmental Protection Agency’s moisture-control guidance for homes explains how roof assemblies, drainage, and other building details contribute to moisture management.
Plan the project as one coordinated improvement
Before signing a contract, make sure the scope, materials, installation details, warranties, payment schedule, cleanup, and process for handling unforeseen repairs are clear. Confirm that the proposed sequence will not leave vulnerable parts of the building exposed unnecessarily. Keep copies of permits, product information, approvals, and final inspection records where applicable.
A thoughtful exterior upgrade balances appearance with protection, durability, and upkeep. When you evaluate the building as a system, scrutinize the details that manage water, and plan for conditions hidden beneath old materials, you are more likely to achieve an improvement that performs well long after the work is finished.

Hi, I’m Tony — a passionate blogger with over 3 years of experience in writing informative and accurate content. I specialize in sharing practical insights on sizes, measurements, and spatial guides to help readers make confident decisions. Through DimensionsPoint.com, I aim to simplify complex data into easy-to-understand content that’s reliable, useful, and SEO-friendly.
When I’m not writing, I’m researching the latest trends in measurement standards and user needs to keep my content relevant and up to date.